
Install Apache Directory Studio in Ubuntu 18.04 to manage OpenLDAP
[ This post is part of my ongoing instructional series on setting up some baseline IT infrastructure for the fictional startup Shoestring Lab. Shoestring has committed to using Open Source wherever possible. Shoestring Lab has standardized on Ubuntu for its server and desktop/laptop computer systems.
Today's lesson
As the admin for Shoestring Lab, you have installed and configured an OpenLDAP server to manage users and groups for various network services. Now you need a GUI tool to manage OpenLDAP. Enter Apache Directory Studio.]
About Apache Directory Studio
Apache Directory Studio is an Eclipse-based administrative tool for LDAP servers. By default, it manages the configuration and data for Apache Directory, the Apache Foundation's LDAP service package. However, Apache DS can be used to manage data in an OpenLDAP server as well.
Installation
Go to:
https://directory.apache.org/studio/
Download the application.
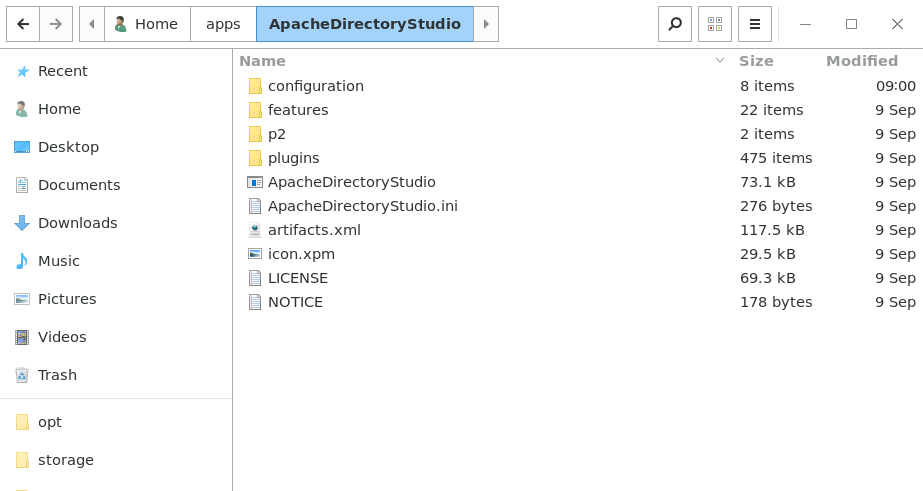
Extract the archive into your preferred location. ( I like to use ~/apps/<folder> for custom installed desktop apps. I use Menu Editor to add apps to the menu. )
Open the ApacheDirectoryStudio folder and edit ApacheDirectoryStudio.ini. You should see a -vmargs at the bottom of the file, like so:
-vmargs
-Dosgi.requiredJavaVersion=1.8
Append two lines to the bottom of the file:
-Xms128m
-Xmx512m
This will limit the amount of RAM that the Java process can use.
Open ApacheDirectoryStudio:
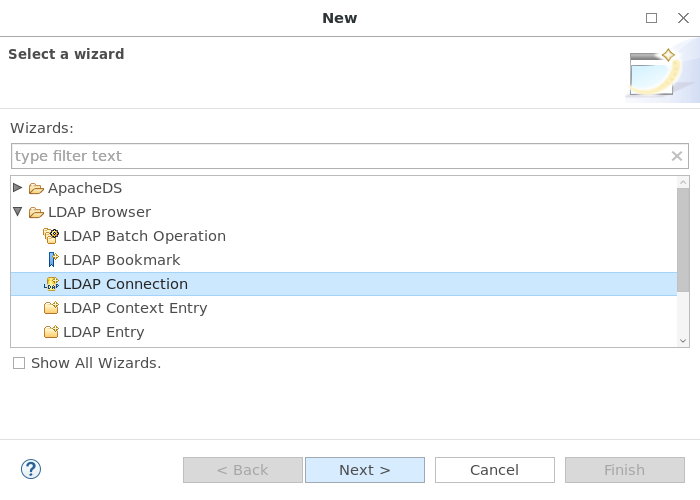
Create a new connection to the LDAP server.
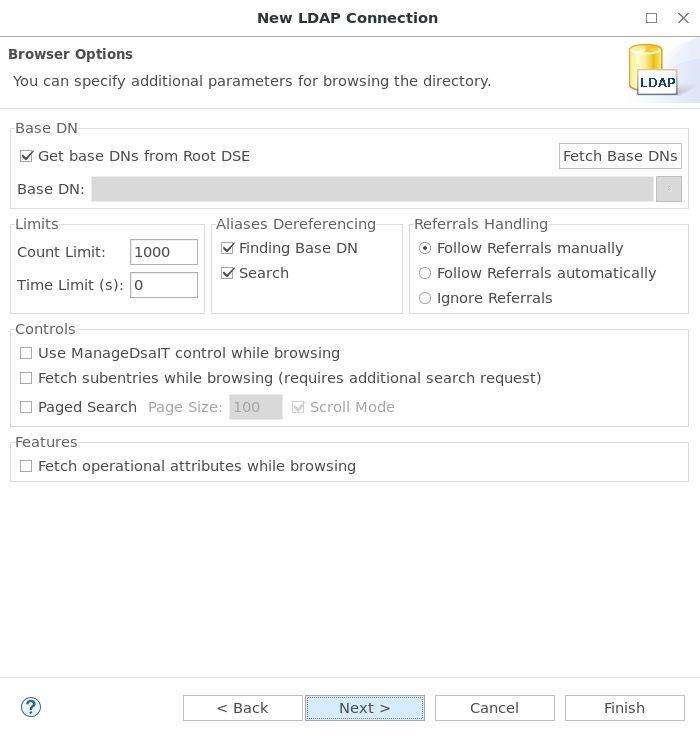
Follow the screenshots to add the server connection to Apache Directory Studio and connect to the LDAP server.
Select New LDAP Connection:
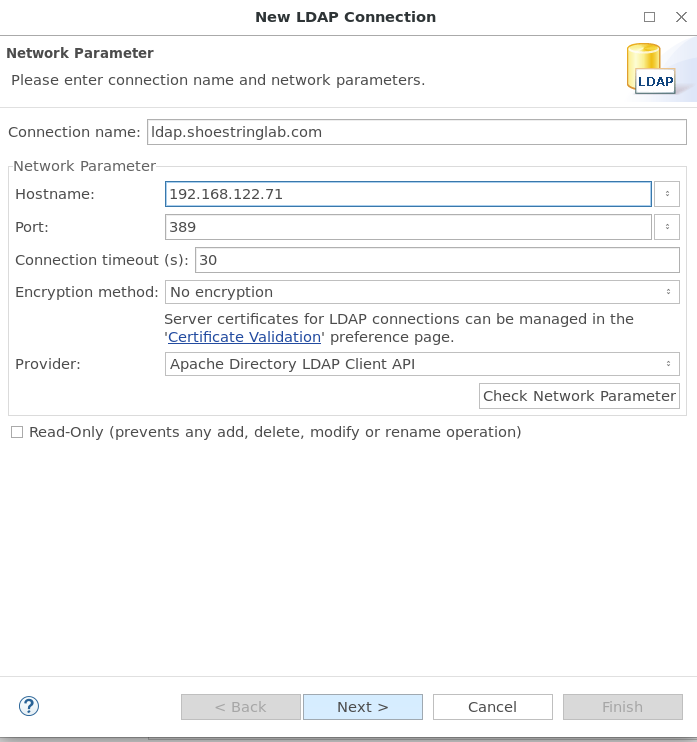
Enter the hostname you used when you configured the service, or use the IP address the service is listening on. Since you have not yet configured OpenLDAP for SSL yet, you will be using an un-encrypted connection (for now):
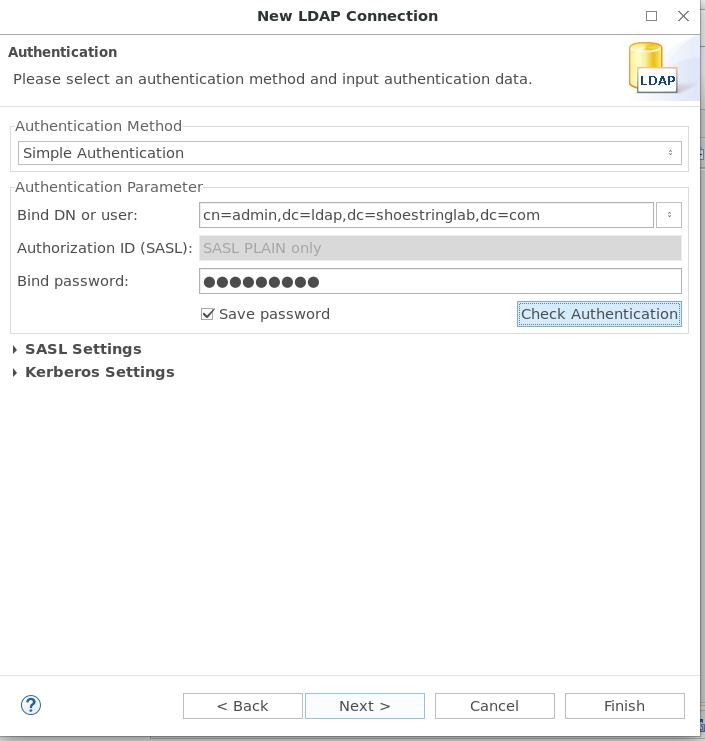
Enter the LDAP bind string and password. cn=admin will bind the admin user, so use the password you entered during the configuration phase as the password here:
Leave defaults unless you have a reason to change them:
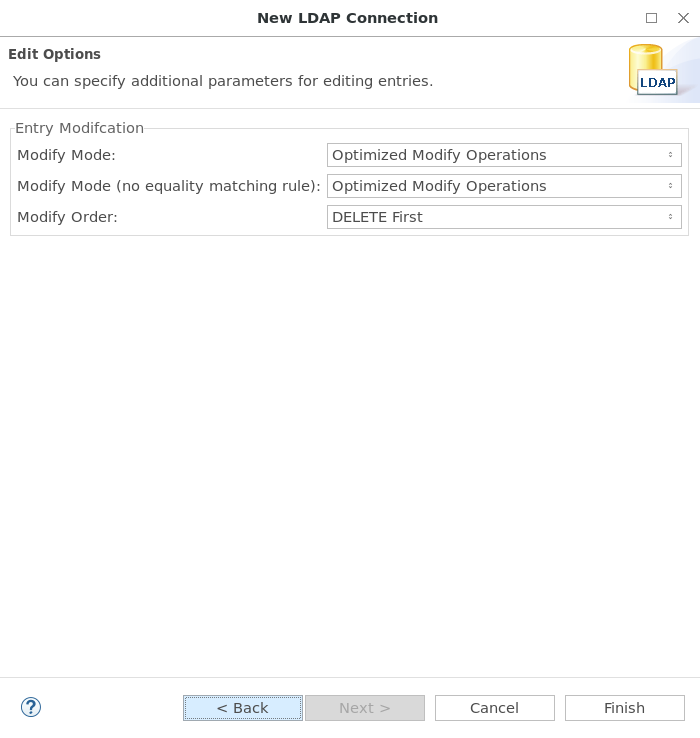
Leave defaults unless you have a reason to change them. Click Finish to add the connection:
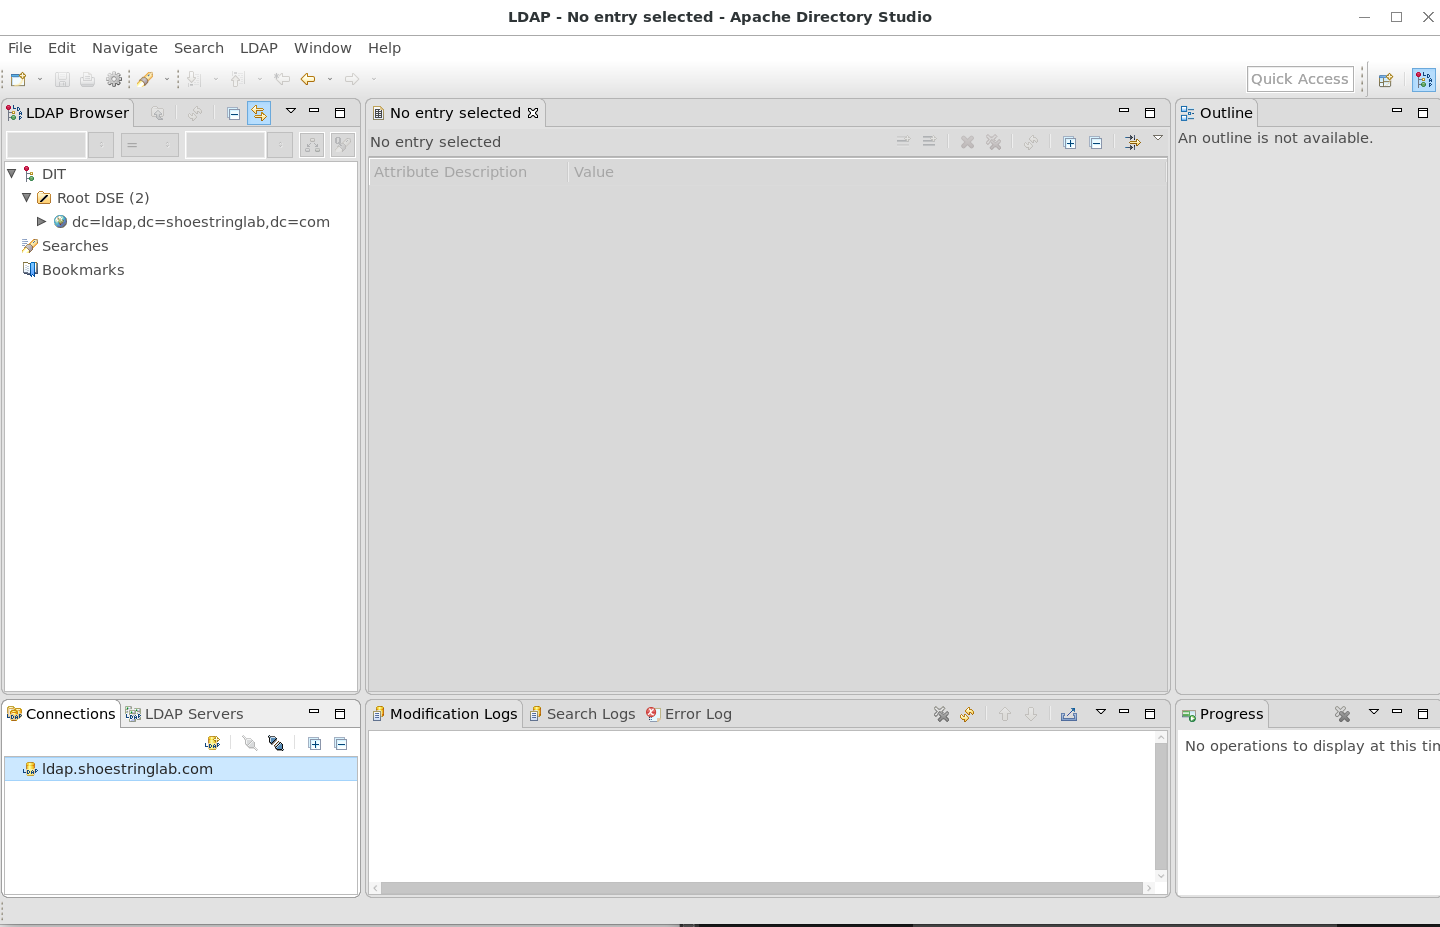
You should now have an LDAP connection in the Connections tab in Apache DS:
Click on the connection to open it:
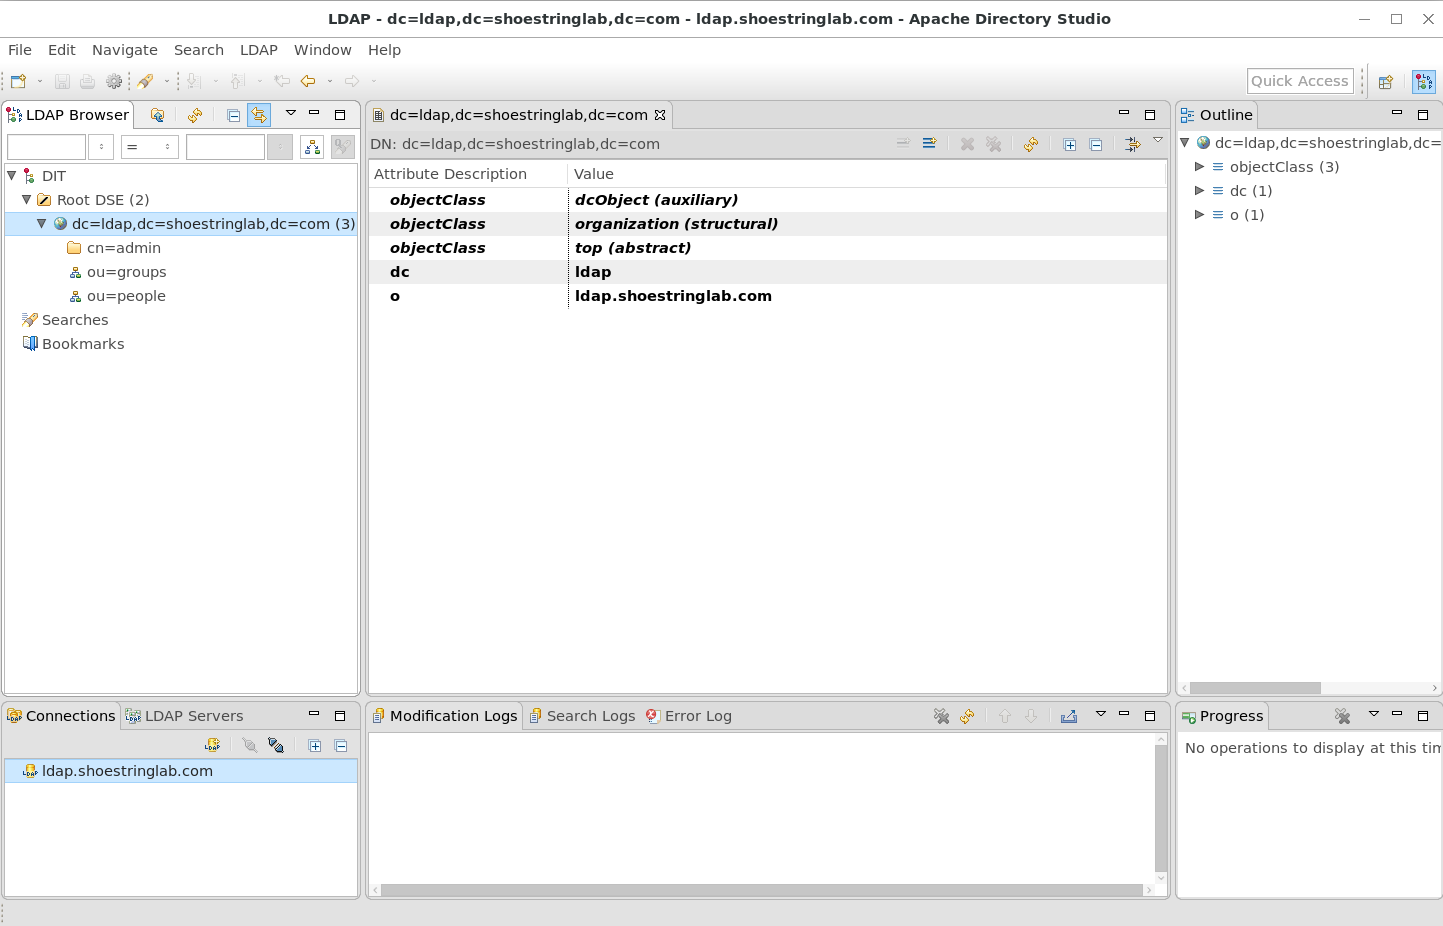
You can now use Apache DS to manage users and groups in your LDAP service.
Next, you will add some users and groups using Apache Directory Service.